 We have begun our next project in Bed Stuy, a smaller 1890’s Renaissance Revival home with a very exciting amount of original detail and great bones. While we await for the design plans to be filed, we have begun the laborious and very messy process of stripping and restoring woodwork.
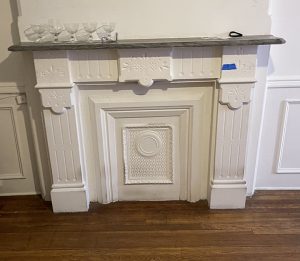
STRIPPING
With over 150 years of stains and paint layered on, stripping the detailed woodwork can be laborious and as costly as major systems work such as electrical or plumbing systems. However it is crucial to maintaining the traditional beauty and enhancing the value of the home.
There are various products used for removing paint. Most of the effective products have toxic fumes and are found only in small hardware stores sold under the counter. Each paint removal specialist has their own preferred material and methods. Citrus Peel (Citristrip) can get the job done but with exhaustive effort. Peel Away is still a favorite for many. While others prefer to remove the paint with a heat gun, there are risks of leaving scorch marks on wood if not done very carefully. Others prefer a hybrid approach of heating the paint with the heat gun to soften it and coat with stripper subsequently.
 |
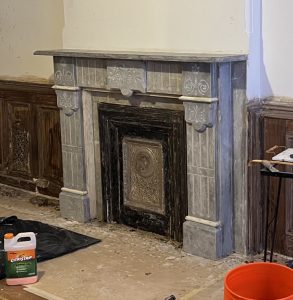 |
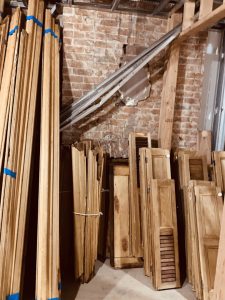
We begin by stripping the wood on site, in areas where the wood and marble aren’t easily moved. Other doors and moldings are later sent off site. Off site stripping is a fraction of the cost of stripping the wood on the premises.
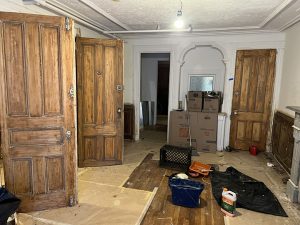 RESTORATION
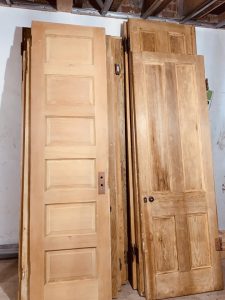
Only true craftsmen have the skill and patience for repurposing doors and window frames. Some doors may have to be cut down to fit different door frames. Holes from old knobs and hinges need filling. Cutouts from old hinges need adjusting to accommodate new hinge placement.
Doors and window openings may need to be resized entirely and their frames pieced together like a puzzle with repurposed wood. For example,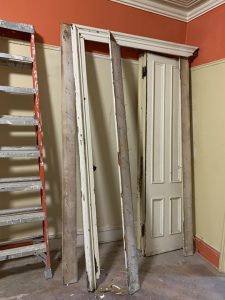 panels under the windows which may have changed sizes can be recreated from excess shutters. Next is filling all the wood that has been riddled with nail holes and other indentations from the passing of time. Once the filling sanding is complete, the cleaning with mineral spirit and staining process can begin.
We prefer leaving the natural wood that has been re-purposed but staining or repainting are also options. We look for a stain as close to the tone of the natural wood that evens out the various repaired sections. A rag and a very light touch, or a soft brush with a quick wipe work best to maintain the natural wood. Once the wood has even tones, it needs to be sealed with Polyvine dead flat sealer maintaining the appearance of natural unfinished wood.
 |
 |
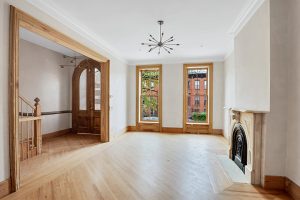
After completion of refinishing the woodworking, the property will feel like walking through an antique piece of furniture. The results can be quite spectacular!
 |
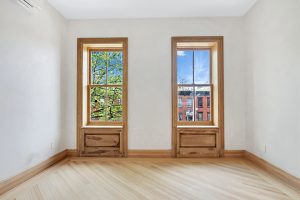 |
(Pictures from our previously finished flip on Putman)
If you are looking for advice in any part of evaluating a fixer upper, please feel free to contact me for resources and assistance at townhousetherapytati@gmail.com or call (917) 697-0117.