Let’s pick up right where we left off in Part 1: From Fixer Upper to Dream Home. You have found a potential “fixer upper” you think might be the one and you have spent time evaluating the exterior and interior of the property.
To truly get a good idea of what is lurking within the walls you need to go top to bottom (literally the roof to the cellar). Here are a few last things to check prior to you putting in an offer and signing the contract.
TOP OF THE HEAP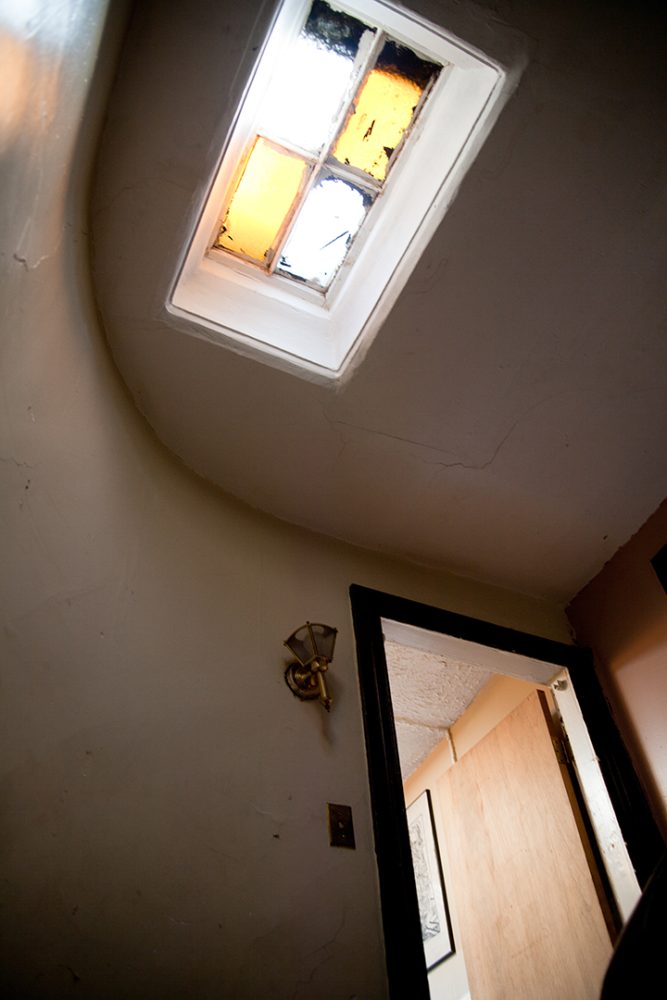
On the roof check the condition of any skylights. Look for broken glass and check the integrity of the flashing. Skylights can be a source of leaks and water damage, as well as loss of energy, if they are not in good condition.
You should also check the state of the chimneys. Many chimneys are painted repeatedly, which could be holding loose bricks together. Carefully check for loose and crumbling bricks, that may need to be repointed or replaced entirely. Repairing the chimneys masonry and the flue maybe another added expense you will need to account for.
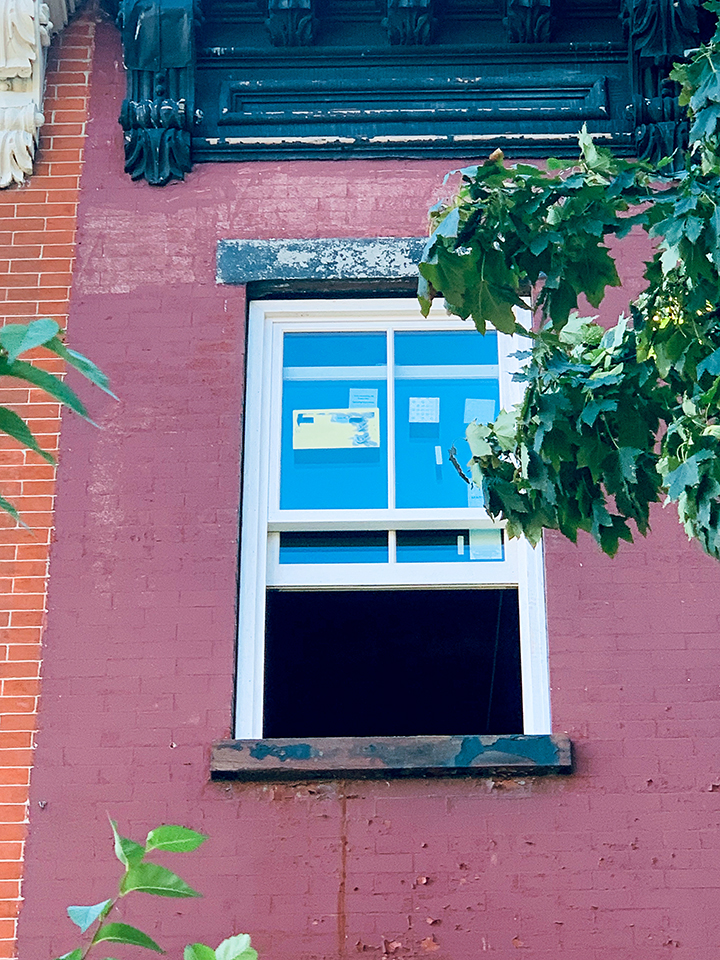
If the property has a cornice at the roofline, you may be able to see the condition best from the roof (albeit carefully!). If it is not possible to look from the roof, look carefully from the top floor window, and at a minimum take photos. Check for rotten and missing pieces as these will need to be repaired by a specialty shop as discussed in part one.
 BONES OF THE HOUSE
Many of the most important concerns can be found in evaluating the ceiling beams from an opening. Beam conditions, such as cracks and splits, holes made by plumbers and electricians, damage from bathroom and kitchen leaks, termite damage, and dry rot from past issues, can all be found in a property’s beams. This will give you a sense of the structural condition of the home.
If there are no open ceiling areas to investigate, hatches and access panels can sometimes give you a peek into the condition. Look carefully as you walk through the house and search for any areas that can give you a sense of these conditions; boiler room, storage closets are a great place to start.
INSPECTOR PROCESS
Once you have decided you are interested in proceeding with the purchase, you will need to hire an experienced home inspector. The inspector will be able to assess many of the concerns we have discussed, some of which might be costly to repair. They will do crucial tests for lead paint throughout the house, look for the presence of radon gas in the cellar, and will give an indication of areas where asbestos may be found.
When checking for lead paint, the inspector will want to chip off a few layers of paint on walls and woodwork. This ensures they can test all the paint that might be present, especially prior to the 1970’s. The results of the lead paint test are key when it comes time to demo. For any area where lead paint was found during inspection, the contractor will need to wear the correct protective safety gear and those areas will need to be cleaned thoroughly after demolition.
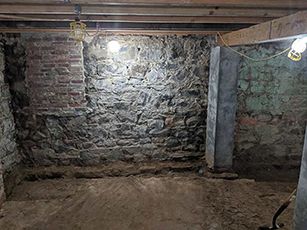 For asbestos inspection, aside from the most common asbestos wrapping of cellar pipes, asbestos can also be found in a plethora of items. It can be present in linoleum, carpet glue, caulking, tiles and roofing material which were installed prior to the 1970’s. This will be important information to have for potential remediation, before you begin any demolition. The asbestos inspection will need to be done by a certified asbestos inspector separate from the home inspector.
On the roof, most likely the inspector will be able to evaluate the number of layers that have been added to the main roof via the hatch framing. This will give you an indication of when a replacement of the entire roof may be needed. Normally there should not be more than five layers of roof paper, otherwise it would be more prudent to replace the entire roof.
LIST IT OUT
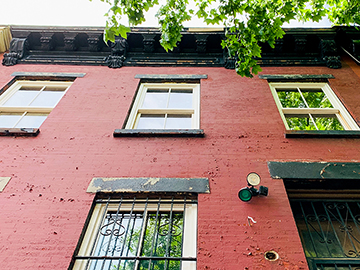
For the front and rear facade, the ideal solution for any cracks and chips that may exist, would be to strip any existing paint, repoint the brick in its entirety and recoating the brownstone. If your budget does not allow for this, scraping and cleaning loose paint off the facade, repairing major cracks in brownstone and repointing areas of just loose bricks is crucial before adding a new coat of paint.
 Most importantly, make a thorough list of all needed repairs and a list of all wanted repairs. Some repairs will need to happen in conjunction with the renovation but others can be done gradually. Your beautiful period home will be a labor of love and at times that can be one of the most enjoyable parts of historic home ownership.
If you are looking for advice in any part of evaluating a fixer upper, please feel free to contact me for resources and assistance at townhousetherapytati@gmail.com or call (917) 697-0117.